How to Start Dropshipping with Sellercloud
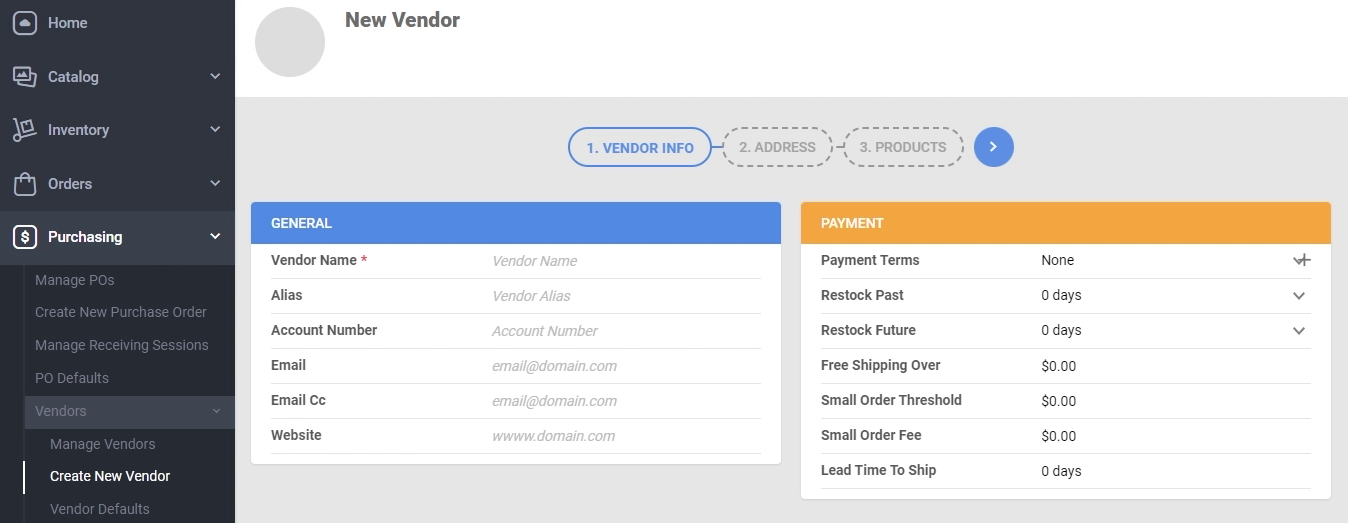
The first thing you will need to do is set up a “Vendor” in Sellercloud. To start, go to the Purchasing Module, click Vendors, and select “Create New Vendor.”
You can also add a vendor from the “Manage Vendors” page using the blue actions button on the bottom right.
Add the Vendor Info you would like to have saved (Name is the only required field), and then move on to the Address information.
After the Vendor Info and Address are finished, you can start adding the products you purchase from them using the “Add Products+”.
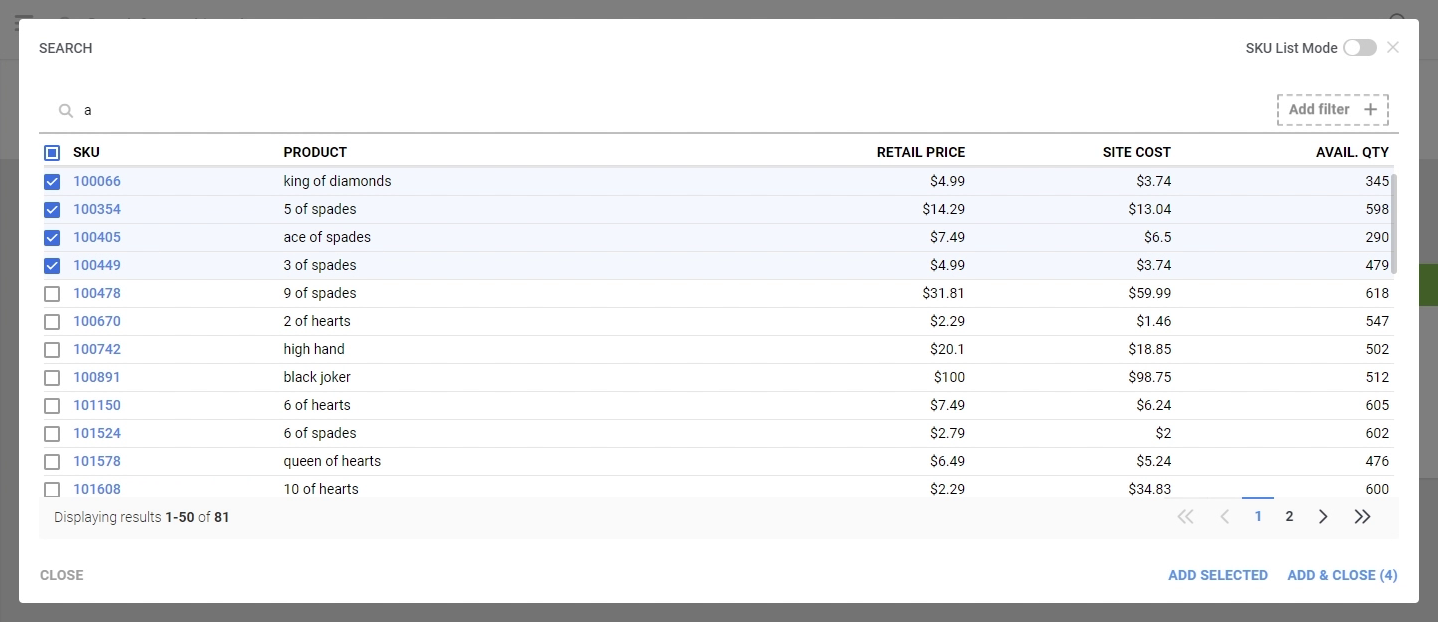
Products can be added in bulk through a file upload once the Vendor has been created.
Once the Vendor is in the system, you can build a “Vendor Warehouse” to synchronize their available inventory to your sales channels.