How to Add Automation to Your Picklists
Picklist generation can be automated in Sellercloud using a series of “Saved Views” and “Schedule Tasks”.
“Saved Views” are a combination of default and custom filters in their respective “Manage” pages that can be saved and recalled for later use and similar automation.
To create a “Saved View” in Sellercloud for picklists, we’ll open the “Manage Orders” page in our Orders Module.
Select the default and custom filters you want to sort orders for, and then click on the “Save View” option, which will open a window where you can name your Saved View.
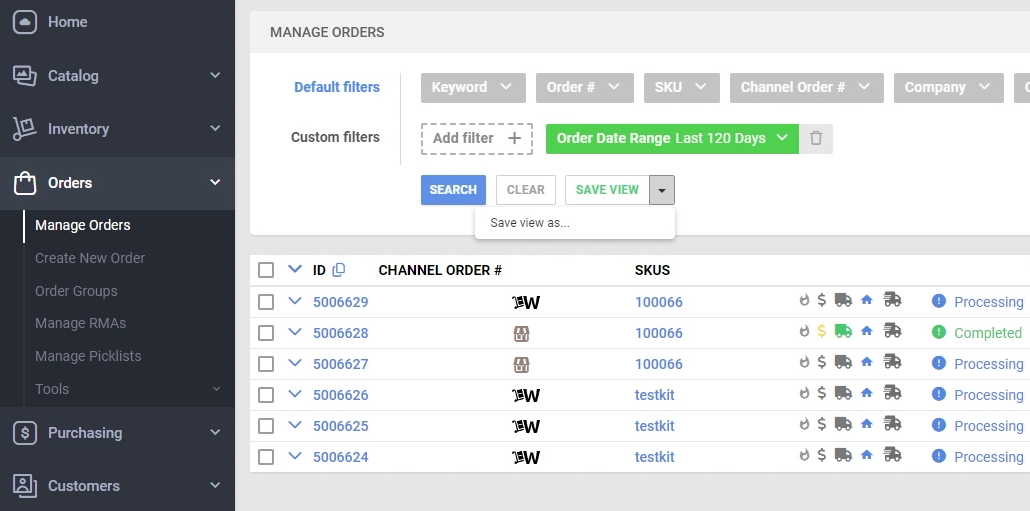
You can locate all of your Saved Views at the top right of your Manage Orders page or on your dashboard at the Home Page.
Once you have your “Saved View,” you can go to your Scheduled Tasks under your Settings Module and create a task to automatically generate your picklist from the “Saved View.”
To create a “Scheduled Task,” start by going to your Settings Module, click on “Scheduled Tasks,” and select “Manage Scheduled Tasks” from the dropdown.
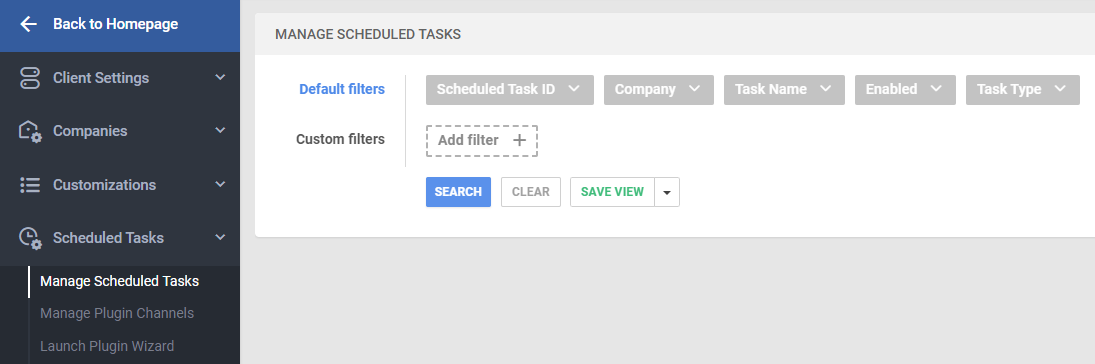
Once on the “Manage Scheduled Tasks” page, click on the green “+” button on the bottom right.
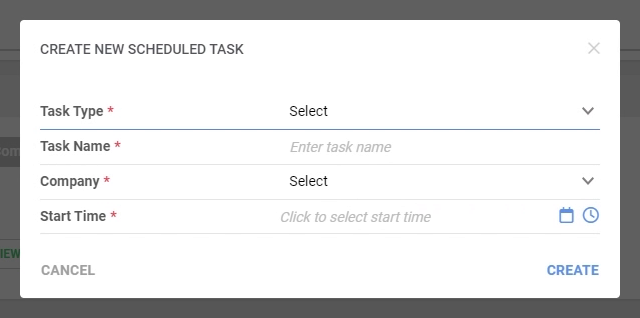
This will open the “Create New Schedule Task” menu, where you can select a Task Type, name your task, select the company, and a start time, and then click “Create” to build the Scheduled Task.
You can now search for your Task on the “Manage Scheduled Task” page and click on the Task ID to open the detailed page.
Depending on the Task Type, once on the detailed page of your Task, you can set Import/Export options along with the Frequency you would like the Task to run.
Enabling the Task using the toggle button on the General section will start the automation. Pressing the play button will execute the task out of Frequency at any time.
Picklists can be automatically emailed to your warehouse team.