Manage Warehouses
Create multiple warehouses within the Skustack Admin and configure them according to their intended use. Mark your warehouse as Sellable to make the inventory available for sale, or as Unsellable to exclude those quantities from the product’s available inventory.
Warehouse Types
Refer to the table below for a definition of each warehouse type:
| TYPE | DESCRIPTION |
| Normal Warehouse | The most common type of warehouse. Refers to a typical in-house facility where your inventory is stored. |
| Cdiscount Warehouse | Associated with products that are stored at a Cdiscount Fulfillment Center. |
| DropShip Warehouse | This is typically used for vendor feeds. Inventory in the dropship warehouse will not be included in average cost calculations. |
| FBA Warehouse | Associated with products that are stored at an Amazon Fulfillment Center. Also used for FBA Shipments. |
| Interim Warehouse | Represents inventory that is in transit between two warehouses (i.e., between a Normal warehouse and an FBA Warehouse). This means that when you’re shipping a product from your Normal warehouse to an FBA center, your shipment will be tracked by placing it in an Interim warehouse. When Amazon receives the shipment, the inventory will automatically transfer into the FBA warehouse. It is possible to create multiple Interim warehouses, which can be designated for different purposes. For example, you can create different interim warehouses such as “In transit to FBA” and “Company Truck”. |
| Untested Warehouse | Inventory in this warehouse will not be included in backorder calculations. This warehouse will not be available under Warehouse Inventory Transfers requests when choosing from and to warehouses. |
| NewEgg Warehouse | Associated with products that are stored at a NewEgg Fulfillment Center. |
| WFS | This is associated with products stored in WFS warehouses. Also used for WFS Shipments. |
Sellable and Unsellable Warehouses
Warehouse marked as Sellable – All inventory in that warehouse may be sold, provided that the individual products’ selling criteria are met.
Warehouse marked as Unsellable – All inventory in that warehouse will not be included in the product’s available inventory. However, its inventory will be included in the product’s total physical inventory count.
Create a Warehouse
You can create a new warehouse from the Manage Warehouses page.
Go to Settings > Manage Warehouses.
Access the Actions menu > Add warehouse.
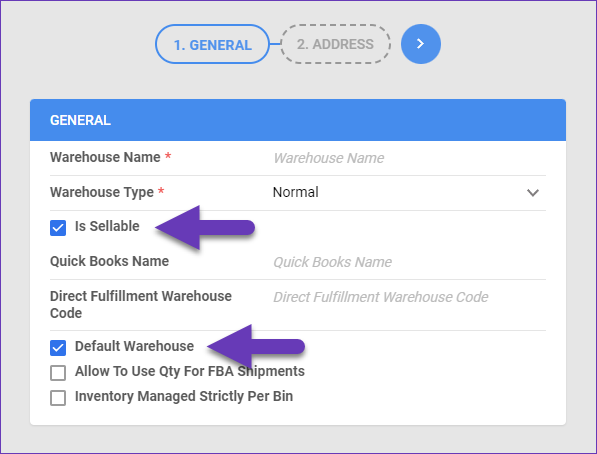
Fill out the Warehouse Name, Type, and Sellable status. Check the Default Warehouse box to configure this location as your default warehouse.
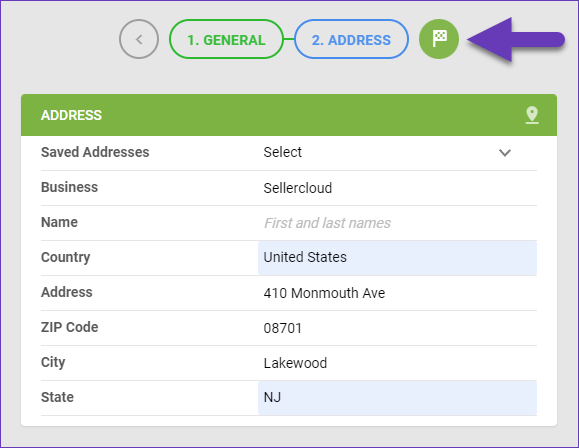
Fill in your address and click the green flag icon to finalize the process.
Once the new warehouse is created, you can view and edit its details from the Manage Warehouses page.