How to Create and Mange Grading Work Orders
Implementing a grading system in Skustack allows you to effectively organize your inventory by item state. You can establish a categorization framework for your products according to their condition and use Work Orders of type Grading to sort them. If needed, you can also initiate potential Repairs for your graded units.
Creating Grading Work Orders is only possible through the Skustack Admin, while managing existing ones can be done through the Skustack application, where you can pick, grade, update, and sort each unit based on the determined condition.
App
Grading Work Orders
When receiving a product in a condition different from its default one (e.g., the product is defective instead of new), you can choose to grade it based on your prepared custom product conditions.
To manage your Grading Work Orders in the Skustack App:
Navigate to the Work Order module and search for the desired Work Order.
Select and save a Destination Bin.
Swipe down to see the total number of products.
Swipe a product to the left to reveal shortcuts to other actions:
Bins – Tap the icon to see all bins where the product is stored (bins will show only if you’re logged into a bin-enabled warehouse).
Info – Tap to be directed to the Product Info module.
Product Flag – Tap on this icon to add a Product Flag.
Scan or tap on the product that you intend to grade. If required, use the available filters to narrow the product list.
Choose the Bin From which you are picking the product and scan/ enter the respective quantity.
You can grade the product’s condition by selecting a new Disposition from the dropdown menu. The dispositions options reflect your prepared custom product conditions. Complete the grading by tapping Pick, or proceed with a grading transfer as described below.
To initiate a grading transfer when picking the product unit, enable the Pick, Grade and Transfer toggle and tap Pick.
The SKU to SKU transfer prompt allows you to move the affected inventory to a dedicated SKU with the required grading condition. If a new product is required, tap on Create new Product, select its identifiers and the Product Condition, tap Create, and select its corresponding bin. The unique serial number will be transferred to this product.
Add a transfer Reason and tap on the transfer icon.
The transfer will be reflected in both SKU quantities, and applicable sales channels will receive the new inventory count with the next inventory update.
Admin
Grading Work Orders
When receiving a product in a condition different from its default one (e.g., the product is defective instead of new), you can choose to grade it based on your prepared custom product conditions.
Create Grading Work Orders
To create a new Grading Work Order:
Navigate to the Skustack Admin portal at https://xx.skustack.com (replace “xx” with your server ID or team name).
Enter your login credentials.
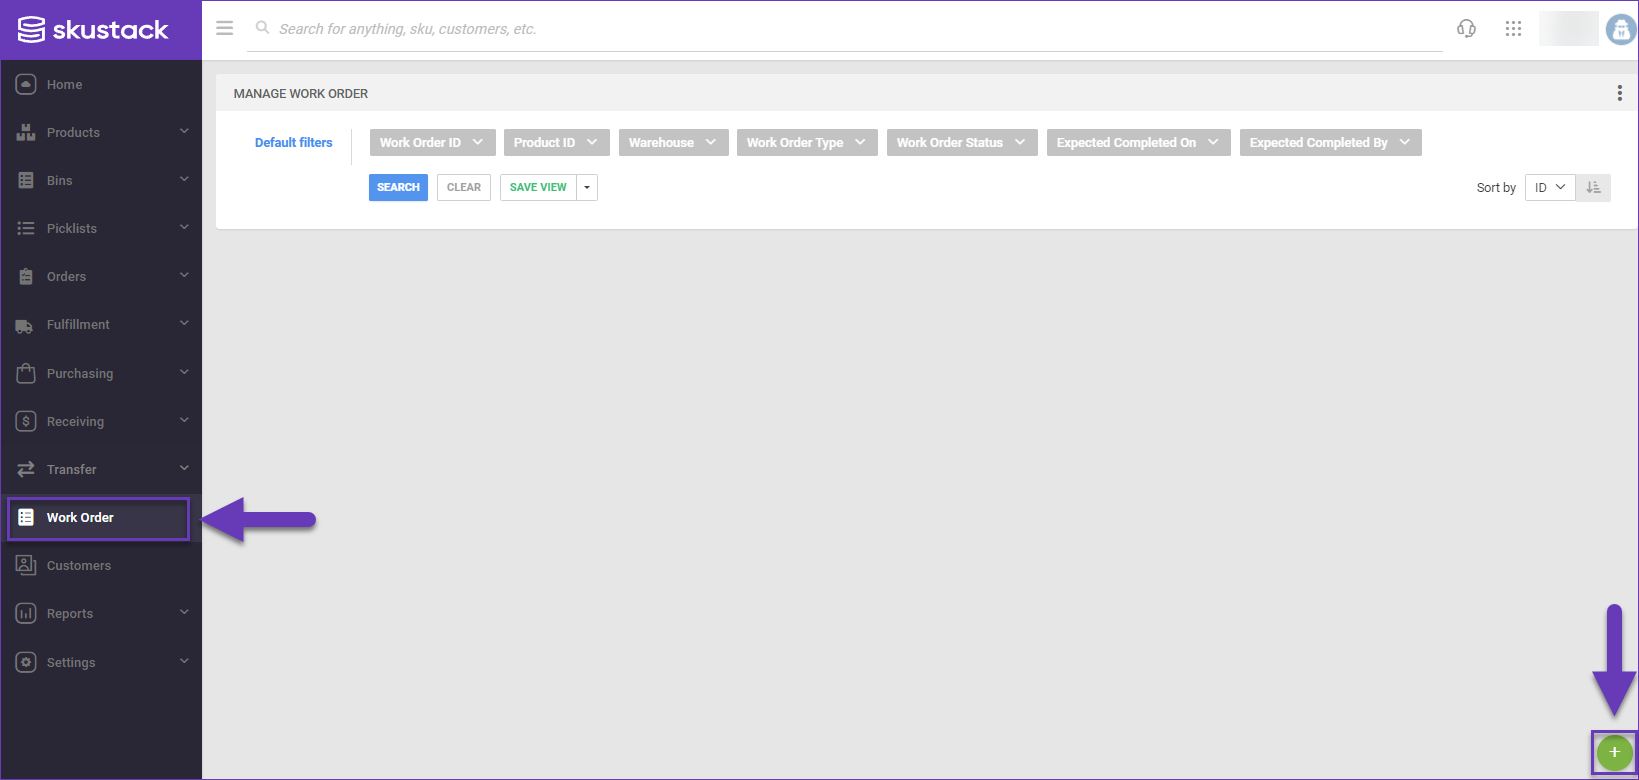
Select Work Order and click on the plus icon to initiate a new work order.
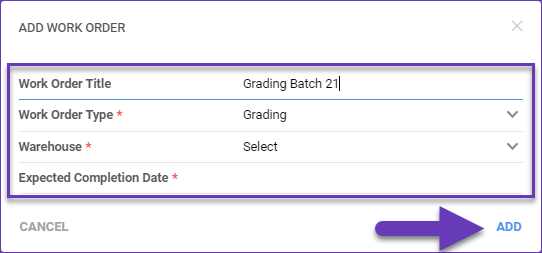
Enter a Work Order Title.
From the Work Order Type dropdown, select Grading.
Choose the Warehouse, for which the work order applies.
In the Expected Completion Date field, enter a date and time estimate to complete the grading task.
Click Add.
The new Grading Work Order will load on your screen.
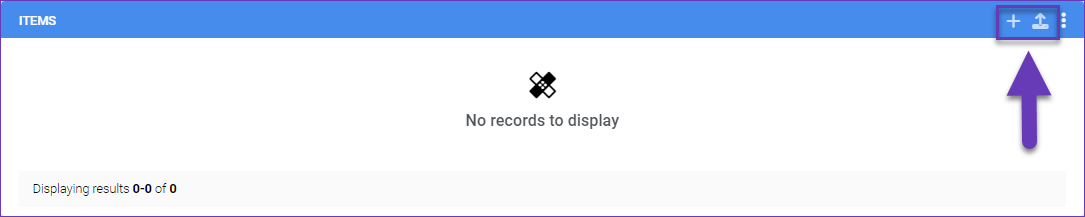
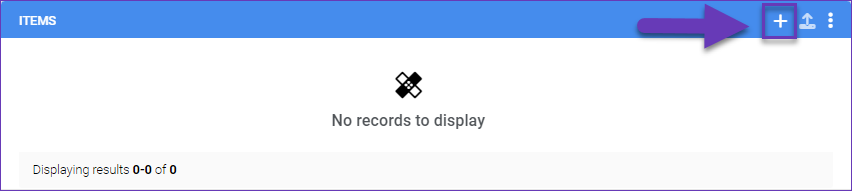
In the Items panel, you’ll find two methods to add products to the Grading Work Order:
You can select items from received POs and Warehouse Transfers, or directly search for and add specific products.
You can also add items via a Bulk Import.
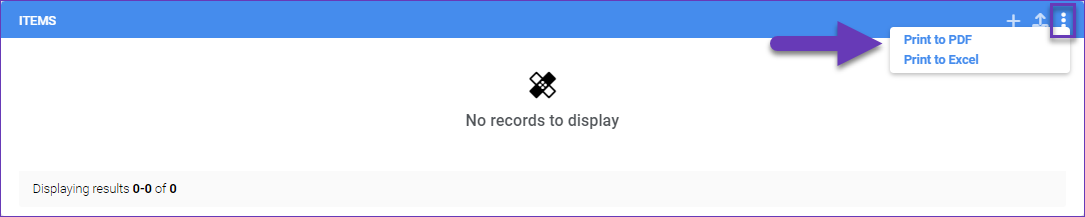
If you wish to print a Work Order document containing the work order barcode and item information, click on the three dots menu and select either Print to PDF or Print to Excel.
Add Items
Next, proceed to add items. You can do that either individually or in bulk.
Individually
In the Items panel, click on the plus icon.
In the Add Product to Work Order popup, select a search option from the Search By dropdown:
Bin – Enter a bin name to add items from.
PO – Enter a PO number to select one or multiple products from a received PO.
RMA – Choose this option to select products from a received RMA.
Transfer – Enter a Warehouse Transfer ID to select transferred products.
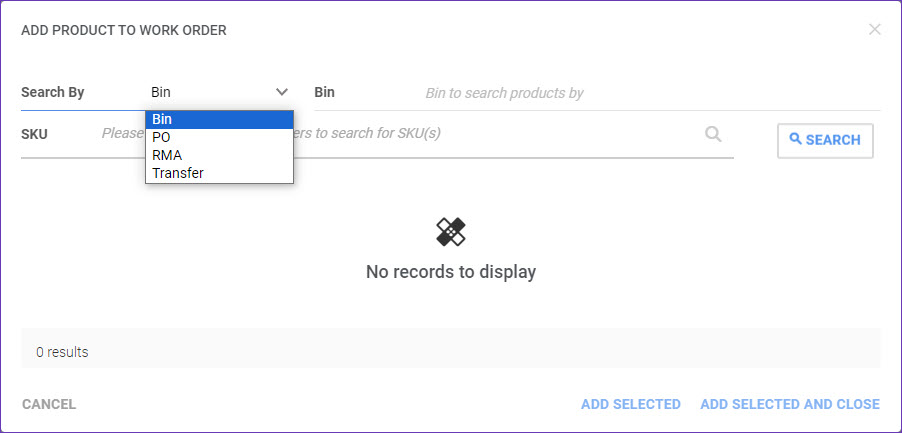
Click Search.
Select one or multiple products from your search results by checking the respecting checkbox and populating the grading quantity in the Qty To Add field.
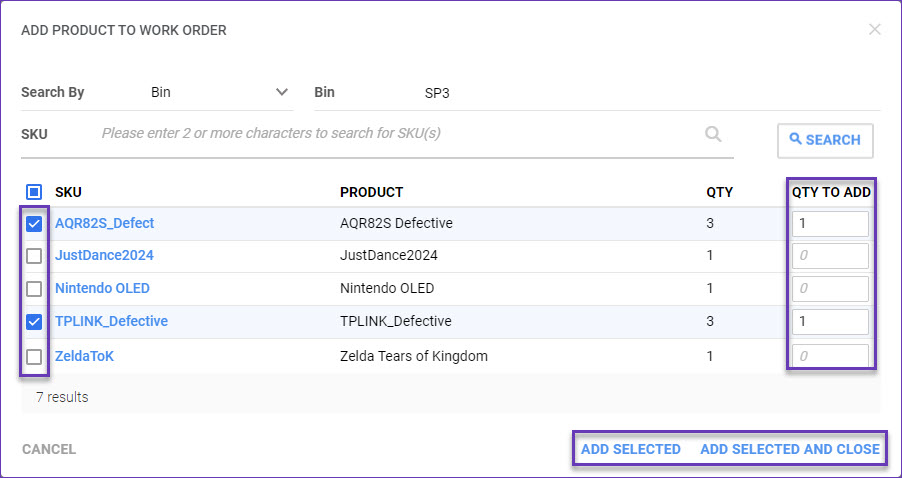
Click Add Selected and proceed with the selection or click Add Selected and Close, if done.
The chosen products will appear in the Items panel.
In Bulk
You can utilize a file to import your products in bulk:
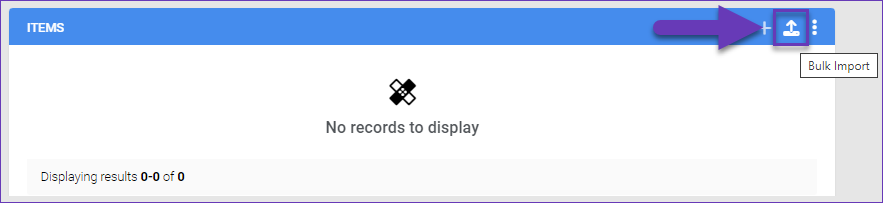
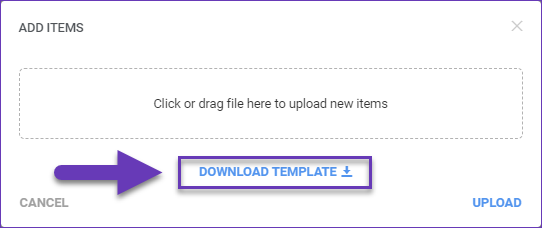
In the Items panel, click on the Bulk Import icon.
Click on Download Template.
Open and populate the Excel file saved in your Downloads folder:
ProductID – Add the SKU of the product that you intend to grade.
WarehouseName – Enter the name of the warehouse for which the work order applies.
TotalQtyRequired – Insert the total number of items to be graded.

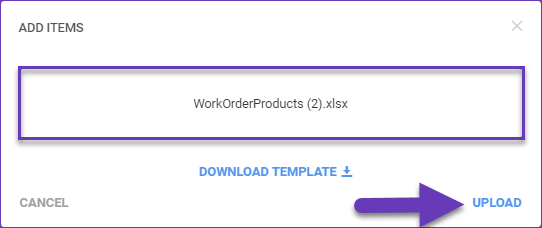
Once all required products have been added, save the file and return to the Grading Work Order Add Items prompt.
Add the saved file and click Upload and the products will appear in the Items panel.
Manage Unit Info
Every time you grade a product unit, a record of the evaluation will be stored in the work order’s Manage Unit Info page. To locate unit information:
Navigate to the Work Order section and open the required order.
From the Toolbox, select Manage Unit Info.
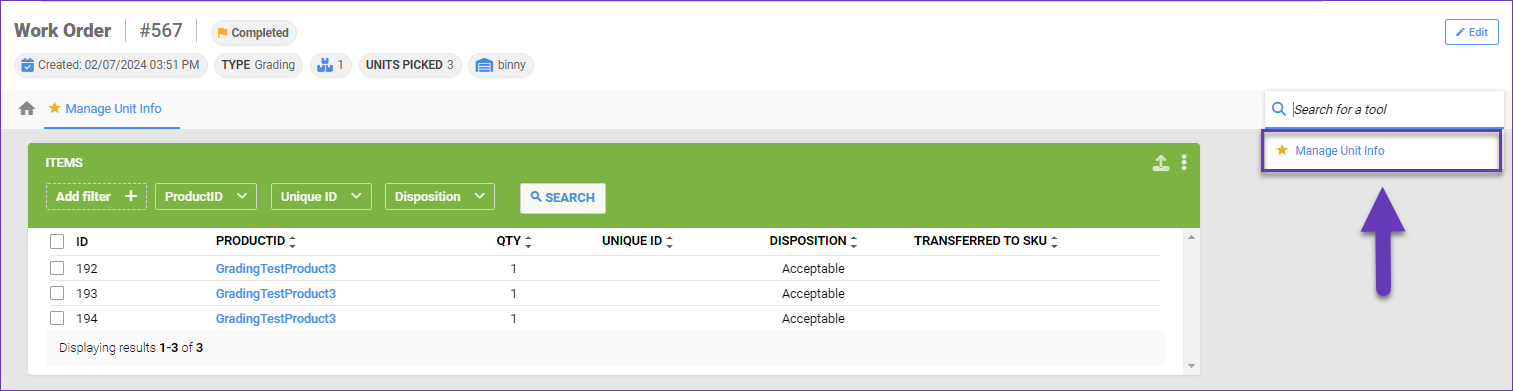
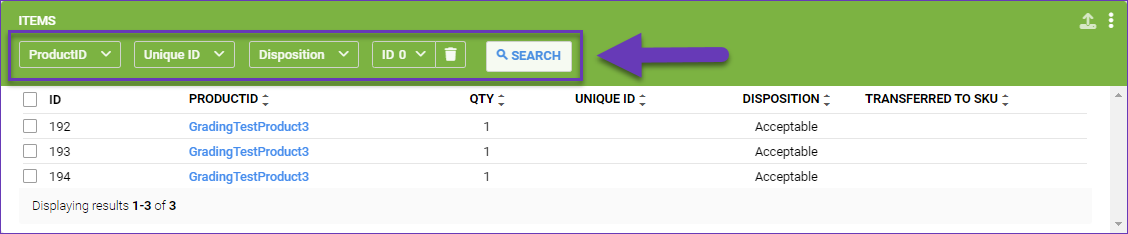
Use the available filters in the Items panel to search for the evaluation details of each item.
Actions
In the Items panel, you can find the following Actions to manage your graded units:
Create a Put Away List – Select the required unit’s checkbox and use this action to create a Put Away List for it.
Create Credit Memo – If the graded product is added via PO, you can create a Credit Memo for desired units.
Import Item Unit Info – With this action, you can update the unit grading information via a file import. Another file import option can be found next to the Action menu.
Create Repair Work Order – You can use this action to initiate a Work Order of type Repair for the chosen units.

Related Settings
| SETTING | DESCRIPTION |
| Validate serial globally | Client Setting. Enables serial number validation in Skustack. |
| Require Serial Scan When Grading | Skustack’s Warehouse Management setting. If enabled, you’ll be required to scan the serial number when picking products in Grading work orders. |
| Grade While Picking In Grading Work Orders | Skustack’s Warehouse Management setting. When enabled, you’ll be able to grade while picking in the Grading Work Order workflow. |
| Allow Unlock Work Order | Skustack’s Warehouse Management setting. When enabled, this setting allows you to edit/add products to Work Orders. |
| Auto populate progress quantity when bin is selected | Skustack’s Warehouse Management setting. When a bin is selected, the Pick Qty field will automatically be set to the total quantity available in that bin up to the quantity required. |
| Allow SKU Transfer For Kits | Client Setting. Enables Kit transfers. |
| Allow SKU to SKU transfers | Skustack’s Warehouse Management setting. Enables inventory transfers between product SKUs within the Skustack app. |
| Do not copy average cost for SKU to SKU transfer | Client Setting. If the Client setting is enabled, there will be no Average Cost Adjustment recorded following the transfer. If the Client setting is disabled, average cost adjustments will be applied. For example, there are 10 units at $2.00 per piece ($20.00 in total) and 20 units at $3.00 per piece ($60.00 in total). Then, the total cost of $80.00 is divided by all units received, which is 30. $80.00 / 30 = Weighted Average Cost of $2.67. |
| Allow Zero Cost SKU to SKU Transfer to affect Average Cost | Client Setting. Zero Cost SKUs will be taken into account for average cost adjustments. |
| Sku To Sku Transfer Adjustment Reason | Skustack’s Warehouse Management setting. Require an adjustment reason for SKU to SKU transfers. |
| Auto Print New Product Labels | Skustack’s Warehouse Management setting. Automatically print out a label for new products after the transfer is complete. |