Save View and Scheduled Tasks
Once you have the reports you want to see, you can “Save View” and create “Scheduled Tasks” to have your reports exported from Sellercloud automatically.
To create a “Save View,” simply select the default and custom filters, set the columns you want on the report, click the green “Save View” button, type in the “Saved View” name, and click “Save.”
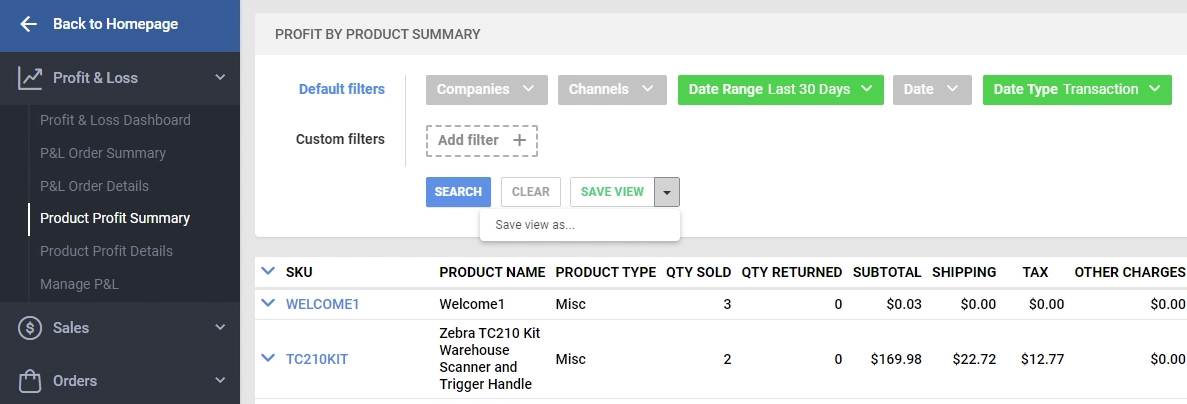
Once the “Saved View” has been created, you can click the blue “Actions” button on the bottom right of the page and select “Create Scheduled Task.”
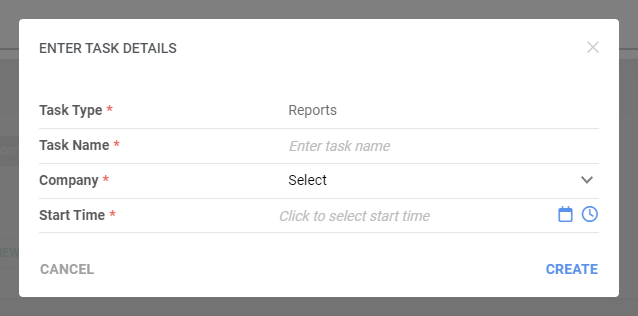
This will open the “Enter Task Details” page, where you can add the required details and create the “Scheduled Task.”
You can “Edit” your newly created Scheduled task by going into the Task’s detailed page in your Settings Module on the “Manage Scheduled Tasks” page.
Learn more about managing Scheduled Tasks here.